
Have you ever tried to delete a file in Windows 10, only to be frustrated by an error message saying it’s in use by another program? This common issue can be a real headache, but don’t worry – we’ve got you covered. In this guide, we’ll walk you through several methods to overcome this problem and successfully delete those stubborn files.
Understanding the “file in use by another program” Error
Windows File Explorer sometimes gets things wrong. You might find yourself unable to delete a file or folder because it appears to be in use elsewhere on the system. When you can’t open, edit, or delete a file, it’s usually because:
- The file is still running in the background
- The file didn’t close properly
Let’s explore how to overcome this issue.
Manual Solutions
1. Close the Program
Let’s start with the obvious:
- Did you just open the file and forget to close it?
- Is the program still running?
Try closing the application completely and then attempt to delete the file again.
2. Reboot Your Computer
While it may seem inconvenient, rebooting your computer:
- Requires zero technical skills
- Clears your RAM
- Potentially fixes other issues simultaneously
If you’ve already tried rebooting and it didn’t help, move on to the next option.
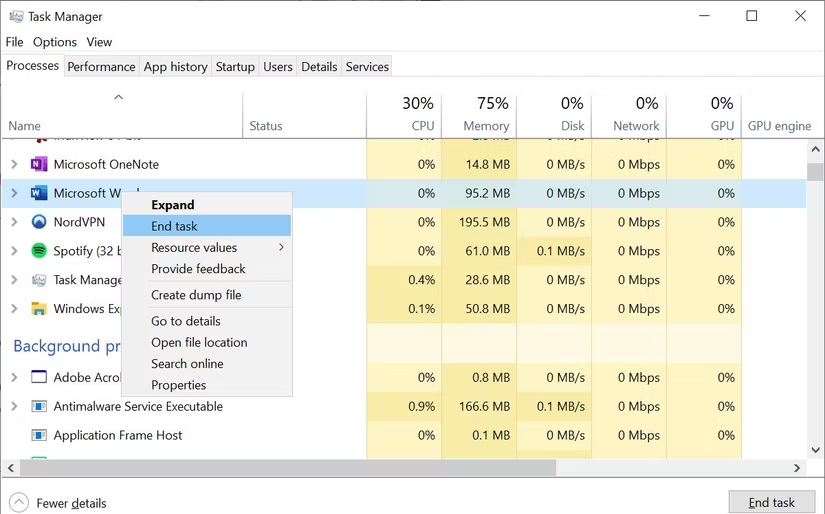
3. End the Application via Task Manager
This method is often the most effective for fixing the “file is open in another program” error.
- Open Task Manager:
- Press
Ctrl + Shift + Esc, or - Press
Ctrl + Alt + Del, or - Right-click the Taskbar and select “Task Manager” (not available in Windows 11)
- In Task Manager:
- Click “More details” if you see the compact version
- Ensure you’re in the “Processes” tab
- Find the application that was using the file
- Select the process and click “End task”
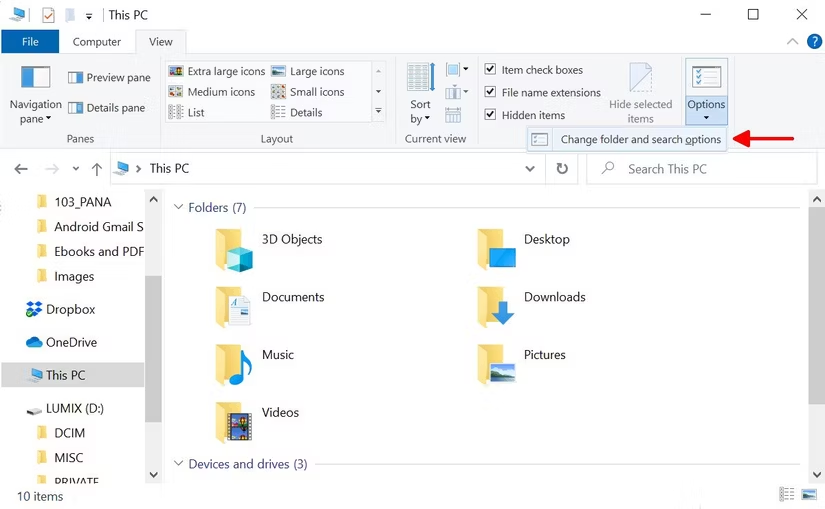
4. Change File Explorer Process Settings
- Open File Explorer (
Windows key + E) - In Windows 10:
- Go to View > Options > Change folder and search options
- In Windows 11:
- Click the three-dot “See more” icon next to View
- Select “Options”

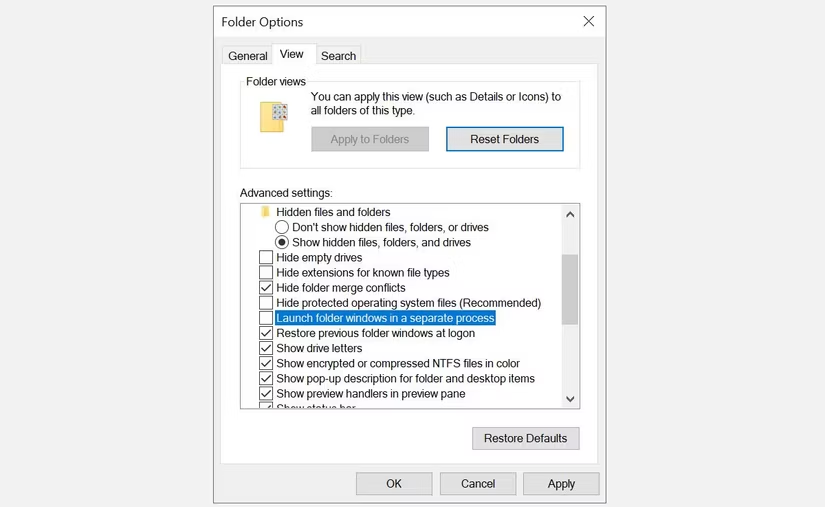
- In the Folder Options window:
- Switch to the “View” tab
- Find “Launch folder windows in a separate process”
- Ensure it’s unchecked
- Click “Apply” to save changes
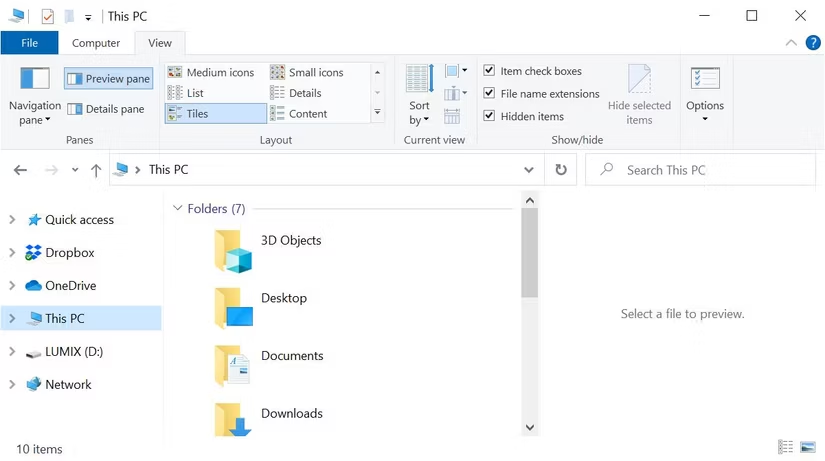
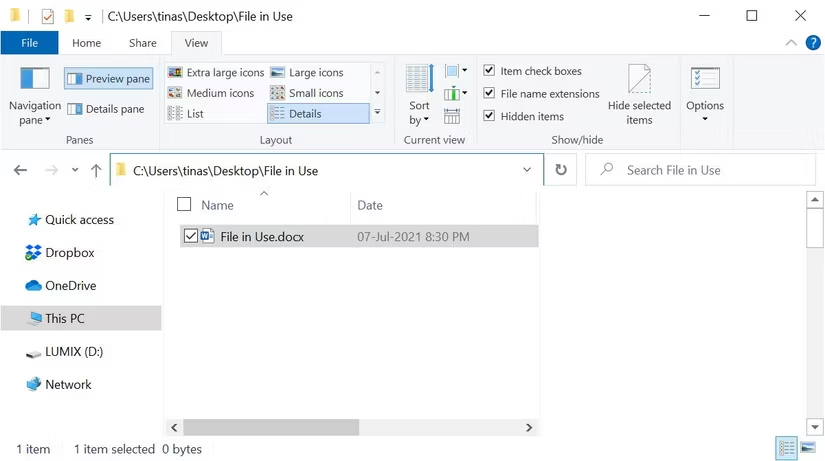
5. Disable the File Explorer Preview Pane
- Open File Explorer (
Windows key + E) - In Windows 10:
- Switch to the “View” tab
- Press
Alt + Pto close the preview pane
- In Windows 11:
- Go to View > Show
- If “Preview pane” is checked, click to uncheck it
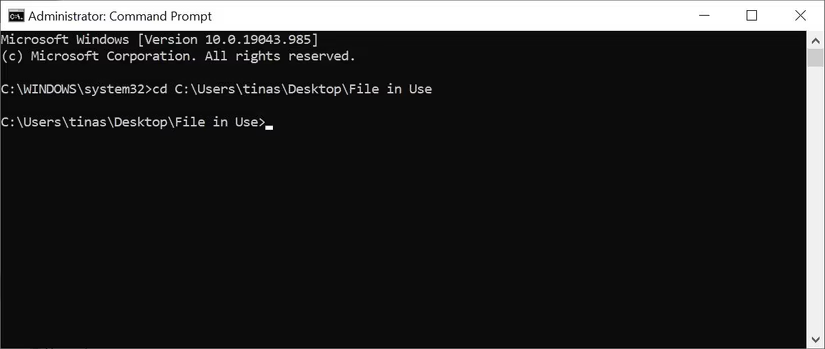
6. Force Delete via Command Prompt
- Locate the file path in File Explorer
- Open Command Prompt as Administrator
- Navigate to the file directory:
cd [directory path]- Temporarily kill File Explorer:
- Open Task Manager
- Find “Windows Explorer”
- Right-click and select “End task”
- In Command Prompt, enter:
del "File in Use.docx"(Replace with your actual file name)
- Restart File Explorer:
- In Task Manager, go to File > Run new task
- Enter
explorer.exeand click OK
Using Specialized Tools
If manual methods don’t work, try these tools:
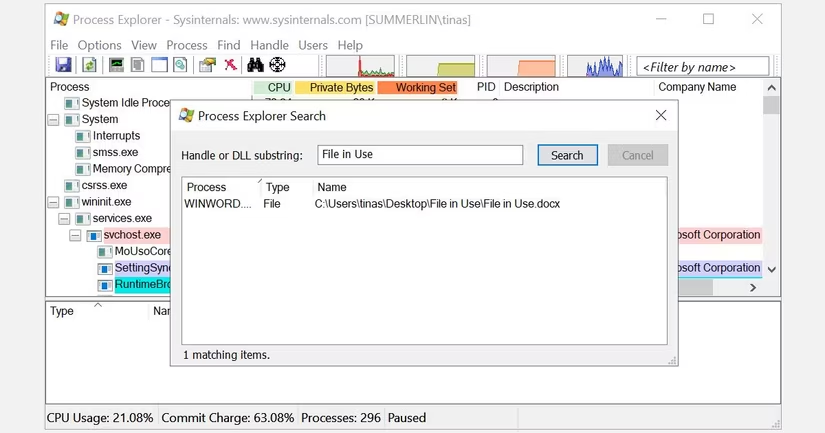
1. Microsoft Process Explorer
- Download from Microsoft’s website
- Use “Find > Find Handle or DLL” to search for the file
- Close the offending application using Process Explorer or Task Manager
2. Unlocker
- Launch Unlocker and browse for the file
- Select the file and click “OK”
- Choose to Delete, Rename, or Move the file

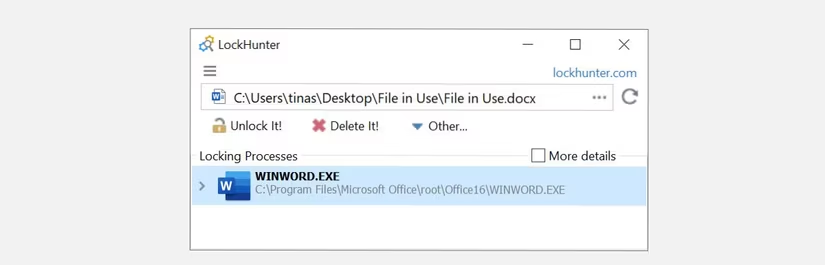
3. LockHunter
- Adds itself to the Windows context menu
- Right-click the locked file and select “What is locking this file”
- Choose to Unlock, Delete, or Unlock & Rename
Last Resort: Boot Into Safe Mode
If all else fails:
- Enter Windows Advanced Startup:
- Windows 10: Settings > Update & Security > Recovery > Advanced startup > Restart now
- Windows 11: Settings > System > Recovery > Advanced startup > Restart now
- Choose Troubleshoot > Advanced Options > Startup Settings > Restart
- Select Safe Mode from the Startup Settings screen
- Try deleting the file in Safe Mode
Conclusion
Dealing with files that refuse to be deleted can be frustrating, but with these methods, you should be able to overcome the “file is in use by another process” error. Remember to always be cautious when deleting files, especially when using advanced methods or third-party tools.
Have you encountered this issue before? Which method worked best for you? Share your experiences in the comments below!