How to fix Windows Update problems installing Windows 11

Windows Update is the recommended method to download and install Windows 11, but sometimes you may run into errors that can prevent your computer from getting the update.
Resolve PC doesn’t currently meet system requirements
If you get the message saying: This PC doesn’t currently meet Windows 11 system requirements, it means that one or more required components are missing, and unless you resolve them, you won’t be able to continue with the installation.
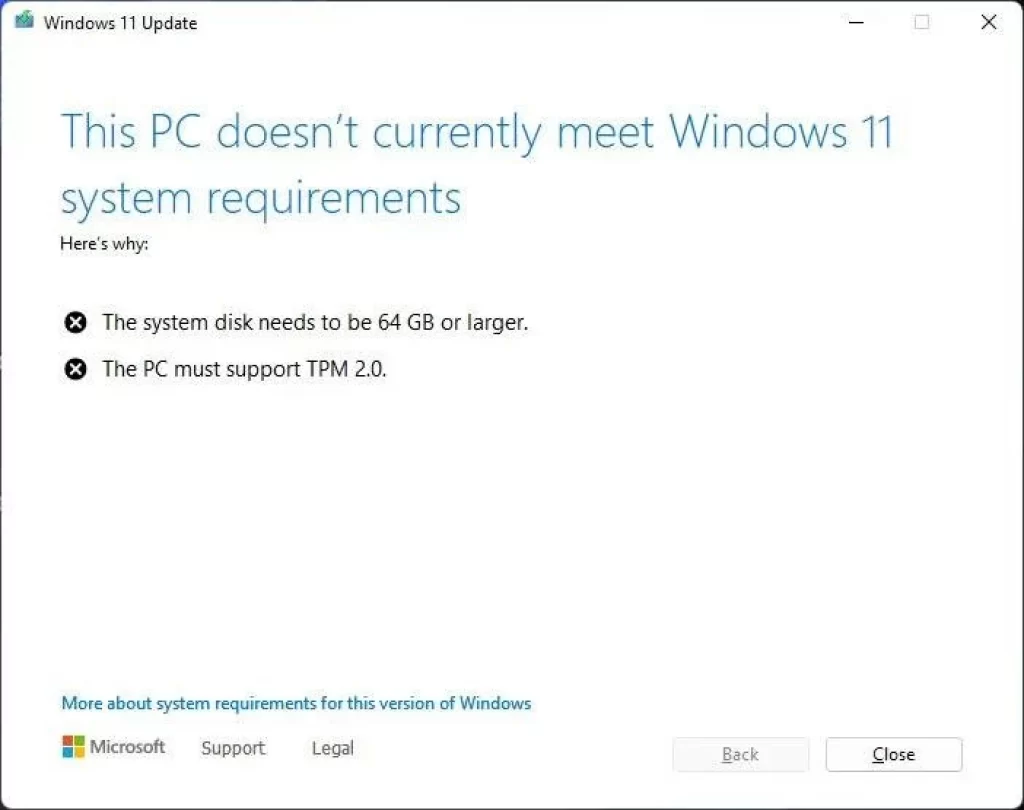
Usually, the setup will explain the problems blocking the upgrade. For example, you these or other reasons:
- The system disk needs to be 64GB or larger – The partition system partition needs to be larger than 64GB. If you have a device with limited capacity, you will need to upgrade the hard drive.
- The PC must support TPM 2.0 – If this is a modern device, the chances are that it has a Trusted Platform Module, but it might be disabled, you have a TPM, but it’s version 1.2, or it could be the case that the computer doesn’t have the security module
In addition to these, the Windows 11 setup may also complain about Secure Boot. If you have a device with UEFI and TPM 2.0, then the device is likely to have the Secure Boot feature.
Fix disk space requirement
To check the storage space on Windows 10, use these steps:
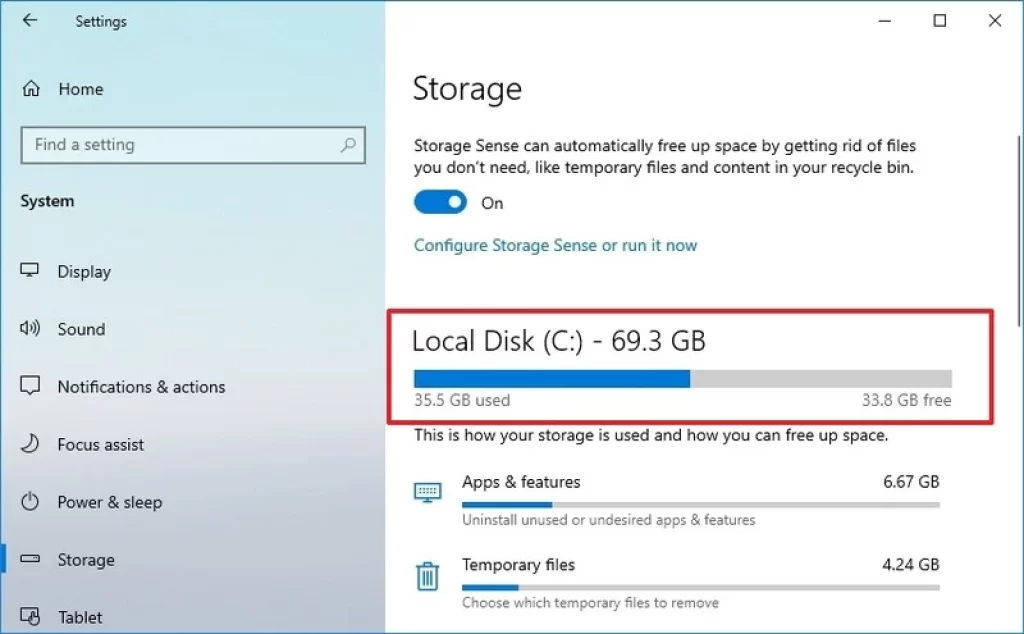
If the drive is under 64GB, you will need to upgrade the storage. The system is referring to the maximum capacity, not the free available space.
Fix TPM 2.0 requirement
To check and enable the TPM 2.0 module on Windows 10, use these steps:
Warning: Changing the incorrect settings can make the computer unbootable. You should access the motherboard settings only when you have a good reason. It’s assumed that you know what you’re doing.
- Open Settings.
- Click on Update & Security.
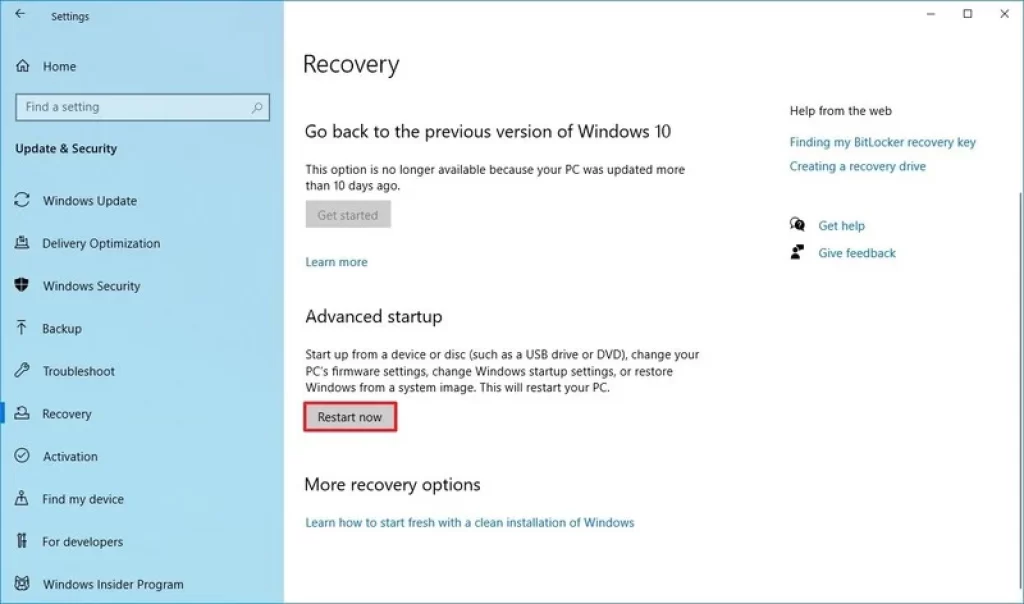
- Click on Recovery.
- Under the “Advanced startup” section, click the Restart now button.
- Click on Troubleshoot.
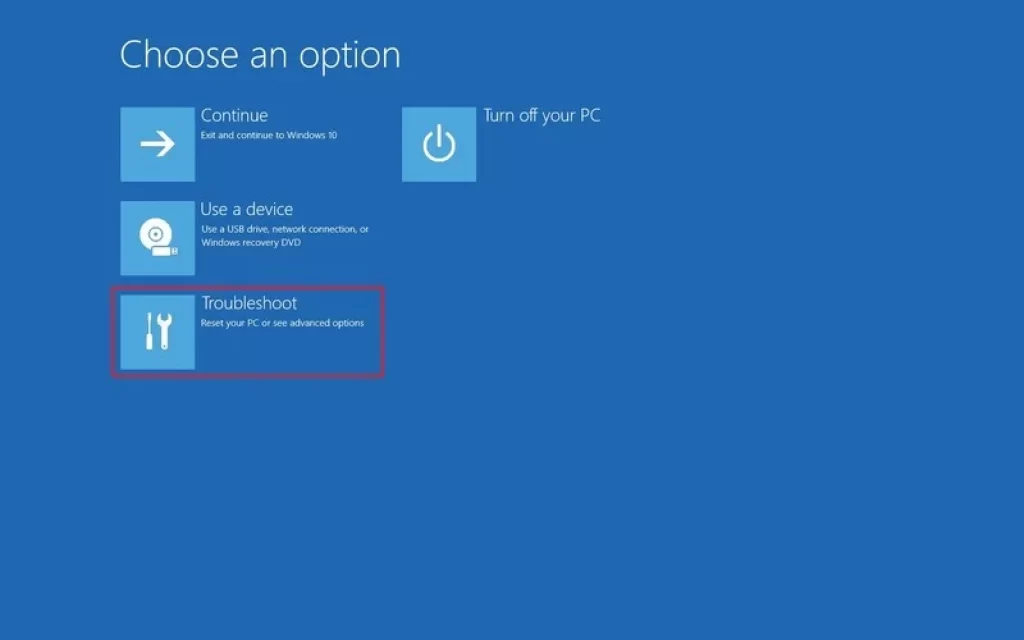
- Click on Advanced options.

- Click the UEFI Firmware settings option.
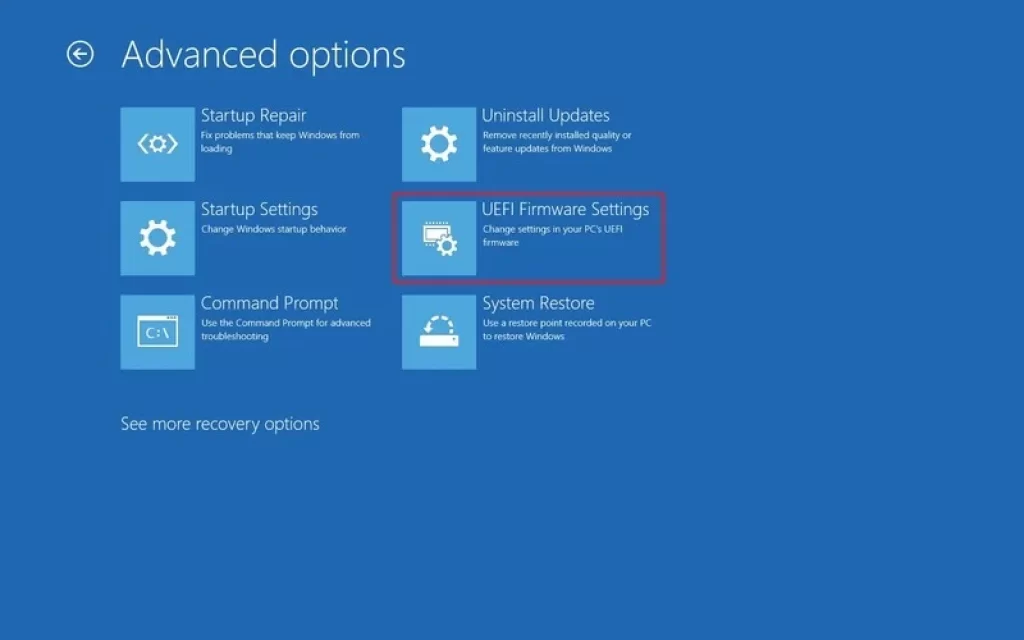
Quick tip: If you have a legacy BIOS, the option will not be available.
- Click the Restart button.
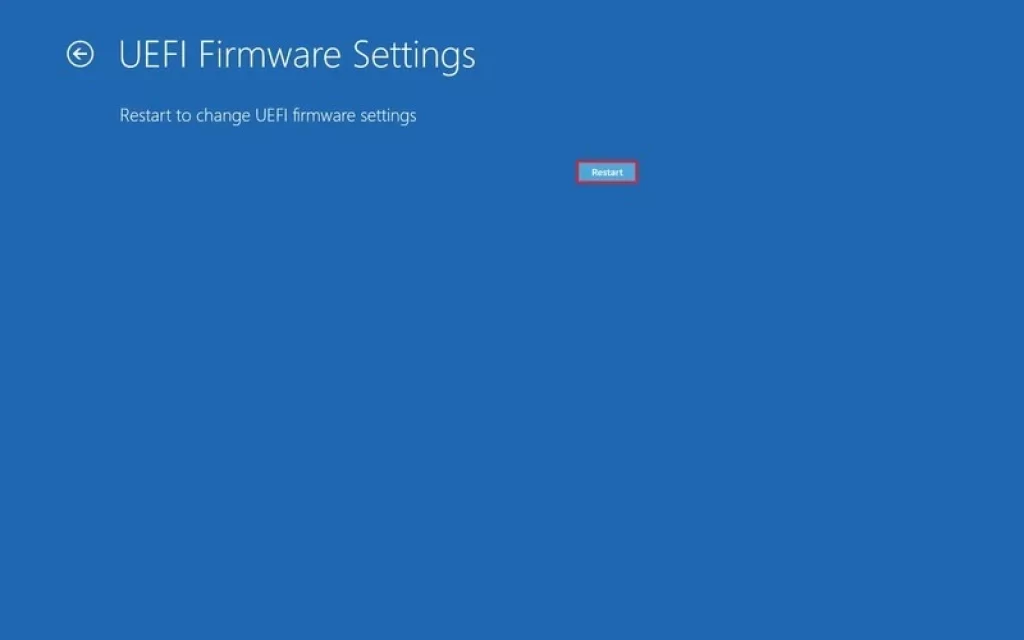
- Open the boot or security settings page.
Quick note: The UEFI settings are usually different per manufacturer and even per computer model. As a result, you may need to check your manufacturer support website for more specific details to find the corresponding settings.
- Select the Secure Boot option and press Enter.
- Select the Enabled option and press Enter.

Secure Boot Surface Option
- Exit the UEFI settings.
- Confirm the changes to restart the computer.
After you complete the steps, the security module will enable, and the computer should now meet the Windows 11 requirement.
Fix unexpected errors using Windows Update
In addition to the system requirements problems, you may also encounter Windows Update issues, but you can use the built-in troubleshooter to solve the most common issues.
To fix Windows Update to download Windows 11, use these steps:
- Open Settings.
- Click on Update & Security.
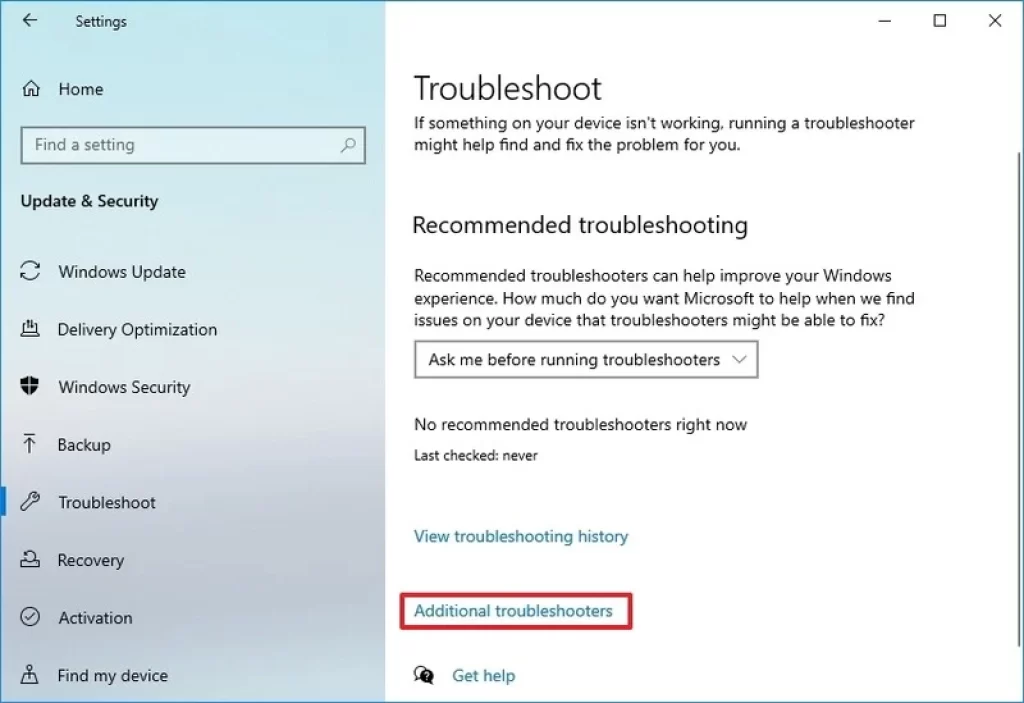
- Click on Troubleshoot.
- Click the Additional troubleshooters option.
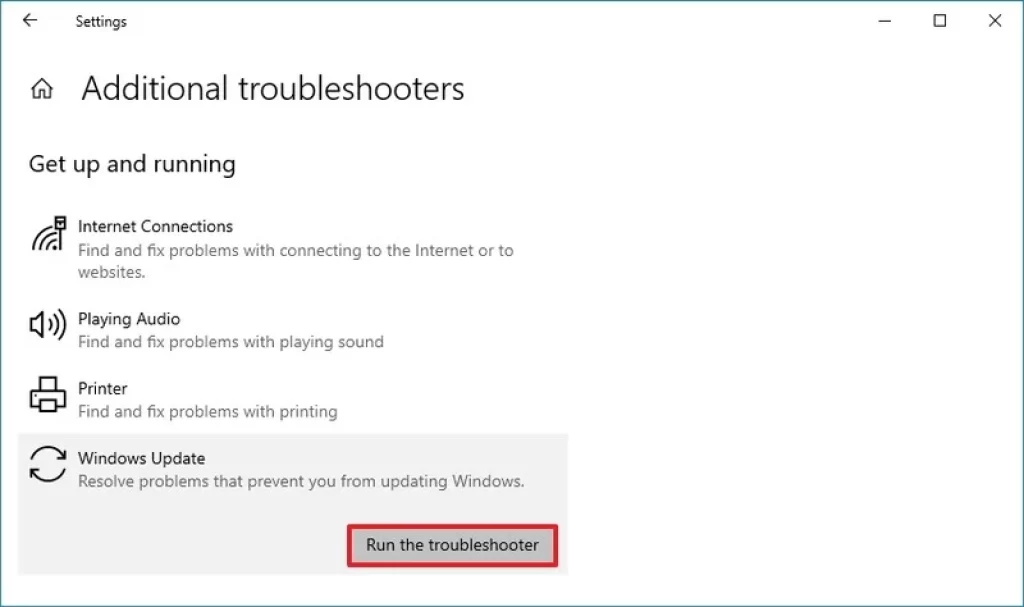
- Under the “Get up and running” section, select the Windows Update option.
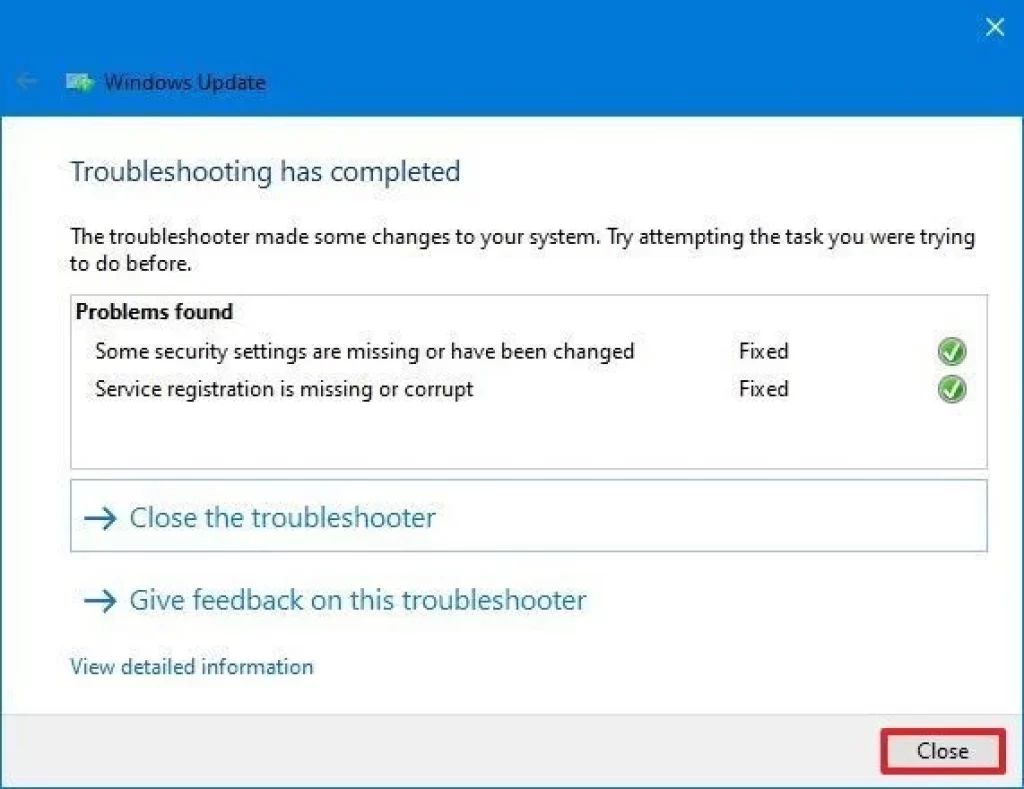
- Click the Run the troubleshooter button.
- Click the Apply this fix option (if applicable).
Quick note: If the “Apply this fix” option is not available, it does not mean the problem was not fixed. The tool will run a series of fixes, and if there is something else to repair, the option to apply the fix will appear.
- Continue with the on-screen directions.
- Click the Close button.
- Restart the computer.
Once you complete the steps, the Windows Update settings should now operate normally to install Windows 11.
If you get the error 0xc1900223, it means that there’s an issue downloading the new version, and there’s nothing else you need to do. At a later time, the system will try to download it again.
Fix error 0x80073712 using Windows Update
When upgrading to Windows 11, you may see the error 0x80073712 message, which means that one or more required files are either missing or damaged.
Using the Deployment Servicing and Management (DISM) tool, you can resolve this problem to restore the system files to a known good state.
To use DISM to fix Windows Update, use these steps:
- Open Start.
- Search for Command Prompt, right-click the top result, and select the Run as administrator option.
- Type the following command and press Enter:
dism /Online /Cleanup-image /Restorehealth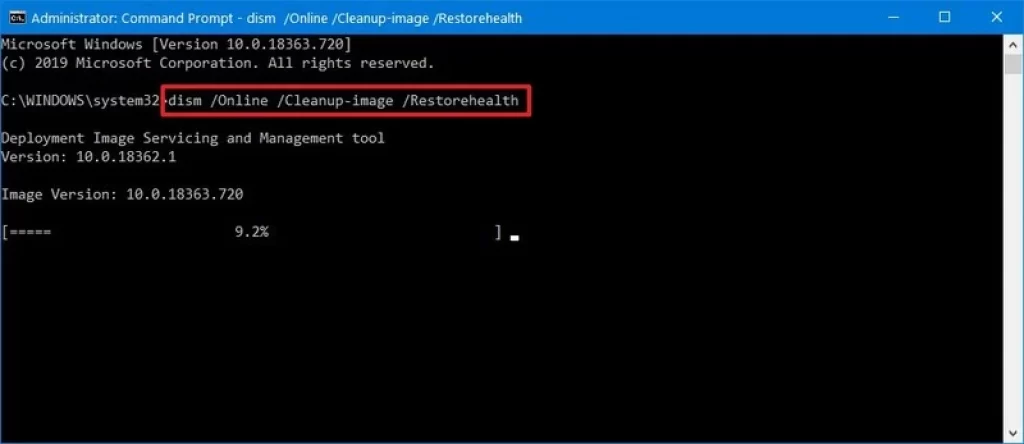
After you complete the steps, the required files will be repaired, and Windows Update should start working to download and install the first semi-annual update of Windows 10.
Fix error 0x800F0922 upgrading with Windows Update
If you use Windows Update to upgrade your device, you may see the error 0x800F0922, which means that the computer cannot connect to the update servers or the System Reserved partition is too small or out of space.
Disconnect VPN session
Usually, you will see the error 0x800F0922 trying to upgrade to Windows 11 when a VPN connection is active.
To disconnect the VPN session, use these steps:
- Click the network icon in the Taskbar.
- Select the VPN connection.
- Click the Disconnect button.

If you use another VPN client software, check the software vendor documentation for more specific instructions to disconnect the device.
Reside System Reserved partition
Third-party security software (for example, antivirus) can store data in the System Reserved partition that may cause a halt in the Windows 11 installation.
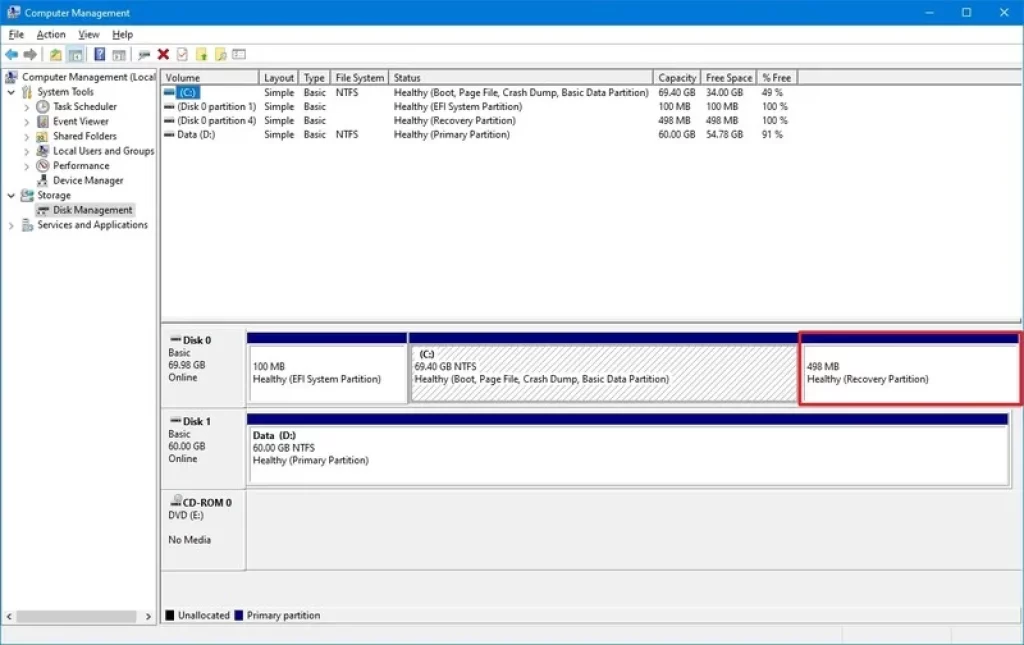
You can resolve this problem by using a third-party tool to resize the partition to make it equal to or larger than 500MB. Alternatively, you can choose to perform a clean installation. This process will not only fix the problem, but you will start the device with a new installation that can resolve other issues and improve system performance.


